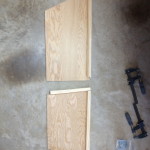
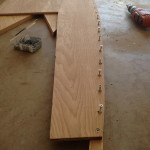
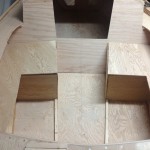
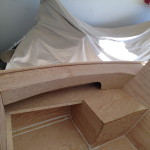
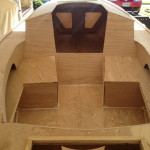
 Installing the cockpit seats begins with stringers and the side walls of the seats.
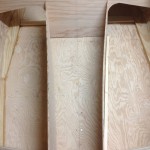
 Here is a head on shot of the side walls. After setting these in place I decided there was too little foot room at the back of the boat so I decided to look for a different option. After digging through the internet and checking out some of the builders blogs I found two different Weekenders “Molly” and “Spiritwind” that had great ideas for seating. Sooo, I put my engineering and analytical skills to the test and build my seats with no guide other than these examples. I did however keep notes and if anyone is interested, I will be glad to share them.
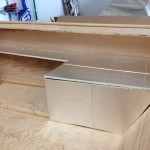 First I made a styrofoam cutout of what I wanted the seats to look like. This included a side wall, back wall and top/seat.
 Stringers are fabricated and placed into position.


