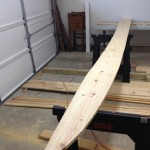
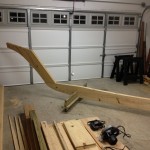
 1st Day…delivery of the wood. I can’t wait to get started!
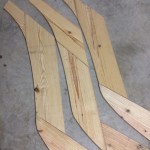
 The first step in this project is to create the keel. Here you can see the 1st layer of 1×12 stock laid flat and marked with nails to outline the cuts to be made.
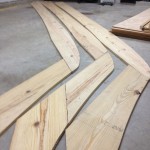
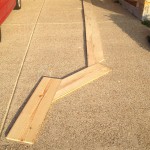 There are three pieces of stock that make the entire length of the keel. Here they are all laid out.
Next the different cut pieces are stacked on top of one another to create the outline for a second set. This is performed a third time, but the middle layer will be off set to create an overlapping effect and more stability of the entire keel.
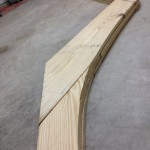
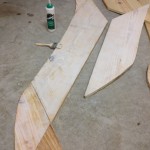 Next all the layers are glued and screwed together. The video shows the use of ring nails, but I chose to use screws for a stronger keel. The plan even says that it is a good idea but not required.
 All stacked together after glueing. If you look closely you can see the gentle curve of the hull bottom, but there is no curve on the bottom of the keel per the plans instructions. This is because I decided to modify the plans here a little and will keep the keel full size the entire length so I can mount an electric motor to the bottom of the boat vial a cutout with the keel. More on that later…
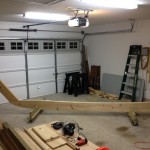 The Keel assembly resting on a homemade stand, which was simply made of some scrap 2×6 in an inverted T shape with a notch cut out for the keel to stand upright, and casters placed on the bottom for easy mobility around the shop. If you look closely you can see the gentle curve on the top of the keel for the hull bottom, but there is no curve on the bottom of the keel per the plans instructions. This is because I decided to modify the plans here a little and will keep the keel full size the entire length so I can mount an electric motor to the bottom of the boat. You can see a cutout at the aft end of the keel. More on that later…
